Quickstart
Embedded graphics simulator
To run examples, you’ll need to follow the instructions in the embedded-graphics-simulator README to install sdl2.
Add dependencies
# Cargo.toml

[dependencies]
buoyant = "0.7"
embedded-graphics = "0.8"
embedded-graphics-simulator = "0.8"
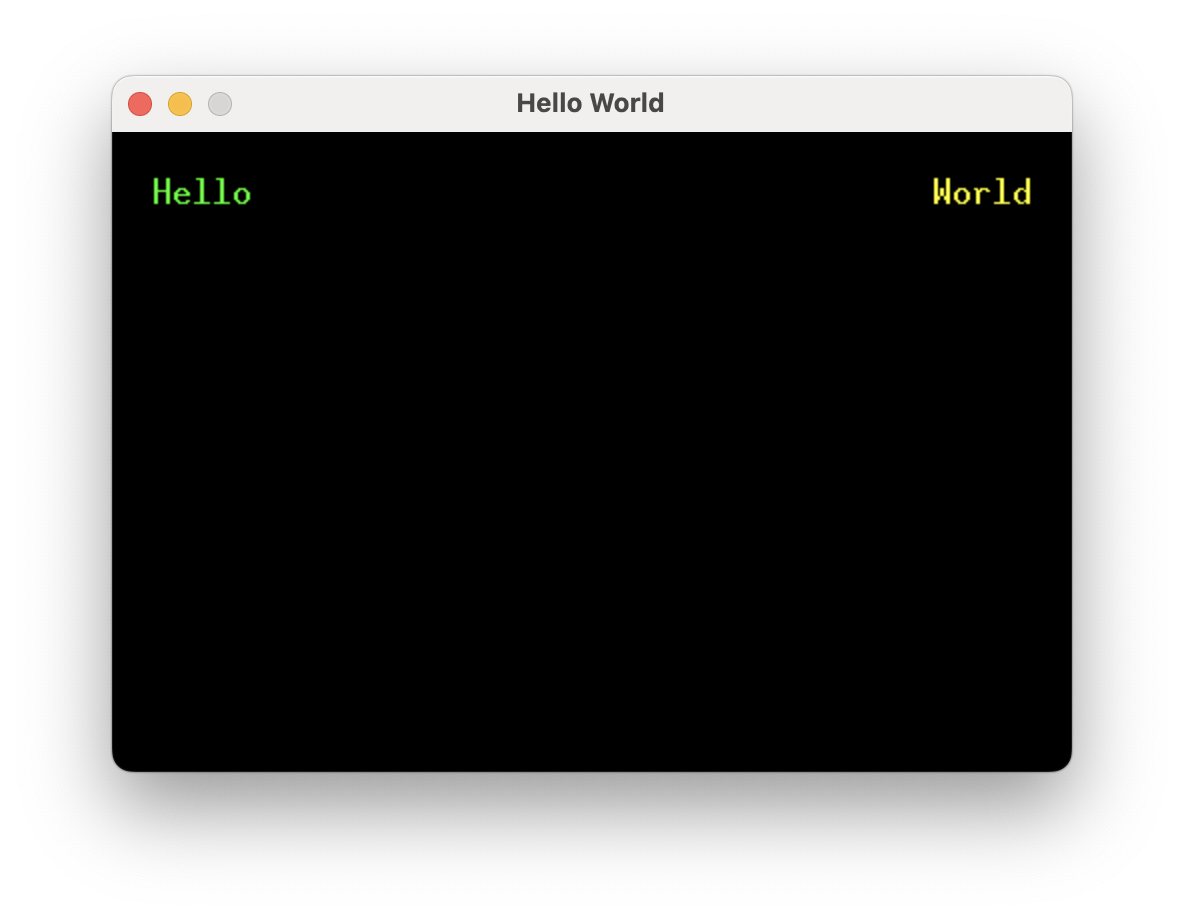
Hello World
Running this example will result in the words “Hello” (green) and “World” (yellow) separated by as much space as possible, with 20 pixels of padding around the edges.
extern crate buoyant;
extern crate embedded_graphics;
extern crate embedded_graphics_simulator;

use buoyant::{
    environment::DefaultEnvironment,
    render_target::{EmbeddedGraphicsRenderTarget, RenderTarget as _},
    view::prelude::*,
};
use embedded_graphics::{mono_font::ascii::FONT_10X20, pixelcolor::Rgb888, prelude::*};
use embedded_graphics_simulator::{OutputSettings, SimulatorDisplay, Window};

const BACKGROUND_COLOR: Rgb888 = Rgb888::BLACK;
const DEFAULT_COLOR: Rgb888 = Rgb888::WHITE;

fn main() {
    let mut window = Window::new("Hello World", &OutputSettings::default());
    let mut display: SimulatorDisplay<Rgb888> = SimulatorDisplay::new(Size::new(480, 320));
    display.clear(BACKGROUND_COLOR);

    hello_view()
        .as_drawable(display.size(), DEFAULT_COLOR, &mut ())
        .draw(&mut display)
        .unwrap();

    window.show_static(&display);
}

fn hello_view() -> impl View<Rgb888, ()> {
    HStack::new((
        Text::new("Hello", &FONT_10X20).foreground_color(Rgb888::GREEN),
        Spacer::default(),
        Text::new("World", &FONT_10X20).foreground_color(Rgb888::YELLOW),
    ))
    .padding(Edges::All, 20)
}
This is more or less the bare minimum to get a window up and running with the simulator.
A window and a display framebuffer are created. display conforms to
embedded_graphics::DrawTarget<Color = Rgb888> and is what you’ll render content into.
The framebuffer is cleared to the background color, the view is rendered, and finally the framebuffer is displayed.
AsDrawable::as_drawableis doing all the heavy lifting here. It takes care of laying out the view within the provided size and then rendering it to the draw target.
View Body
#![allow(unused)]
fn main() {
extern crate buoyant;
extern crate embedded_graphics;

use buoyant::view::prelude::*;
use embedded_graphics::{mono_font::ascii::FONT_10X20, pixelcolor::Rgb888, prelude::*};

fn hello_view() -> impl View<Rgb888, ()> {
    HStack::new((
        Text::new("Hello", &FONT_10X20).foreground_color(Rgb888::GREEN),
        Spacer::default(),
        Text::new("World", &FONT_10X20).foreground_color(Rgb888::YELLOW),
    ))
    .padding(Edges::All, 20)
}
}
The view body returned from this function simply encodes the structure and relationships between elements, along with holding references to resources like text and fonts. Note it has no notion of size or position.
This is an example of a component view. Unlike SwiftUI where views are types, Buoyant components
are functions (sometimes on types). You can take this view and compose it with other views
the same way built-in components like Text are used.
Because embedded-graphics displays come in a wide variety of color spaces, component views
must also specify a color space. Often it’s useful to alias this to make migration to another
screen easy, with e.g. type COLOR = Rgb888.
While the
AsDrawabletrait is useful for quickly rendering a single view, theApptype provides more complete application lifecycle management and event handling.